# Preparations
In this guide, you will learn how to set up a wallet and add funds to it. This process can vary depending on whether you're using the mainnet or testnet. We'll cover the following scenarios:
* Setting up a wallet
* Using a faucet (testnet only)
## Set up a wallet
### Choose a wallet
Some wallet options are [Keplr](https://www.keplr.app/) (**recommended**), [Station](https://station.money/) and [Leap](https://www.leapwallet.io/).
### Install the wallet
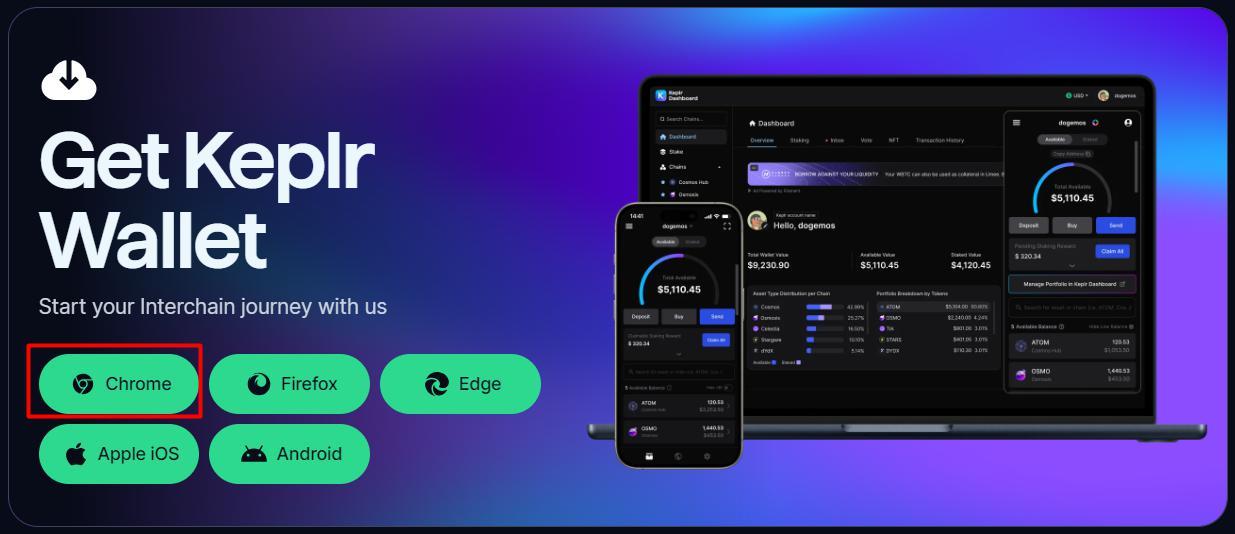
Then select your preferred browser/device. This guide shows the installation process using Google Chrome.
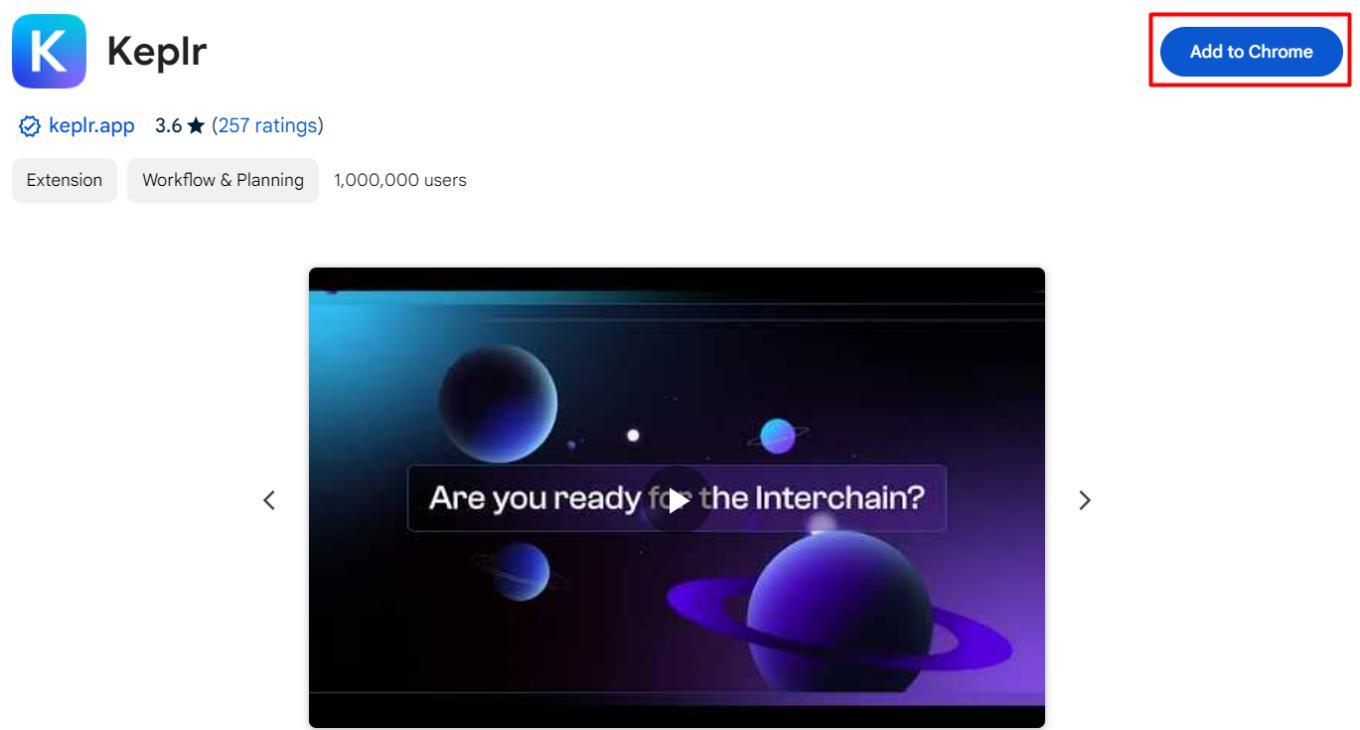
Add the wallet as a Chrome extension. To minimize risk, always verify that the team behind the extension corresponds with the Keplr app.
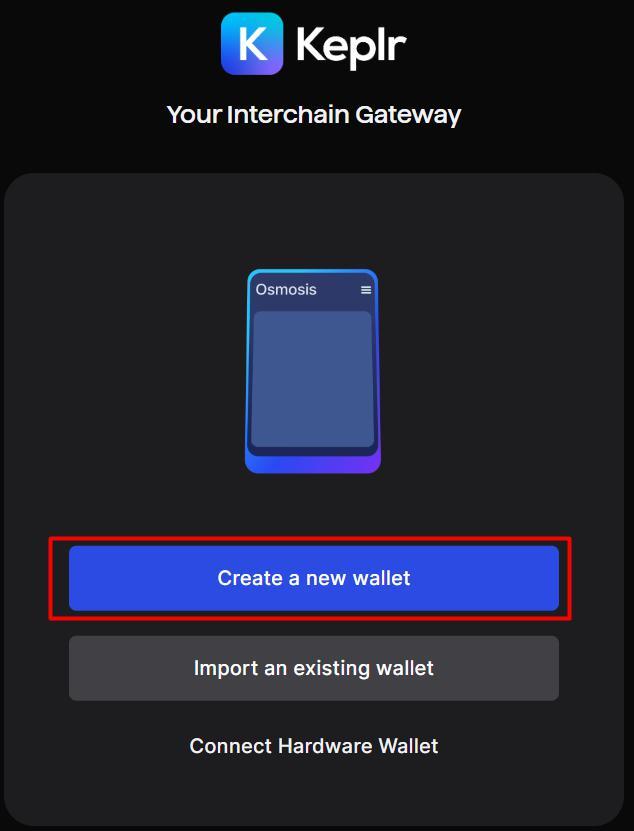
Click the Add to Chrome button and wait for the extension to open a new tab with the setup steps. Click the Create a new wallet button to begin the setup.
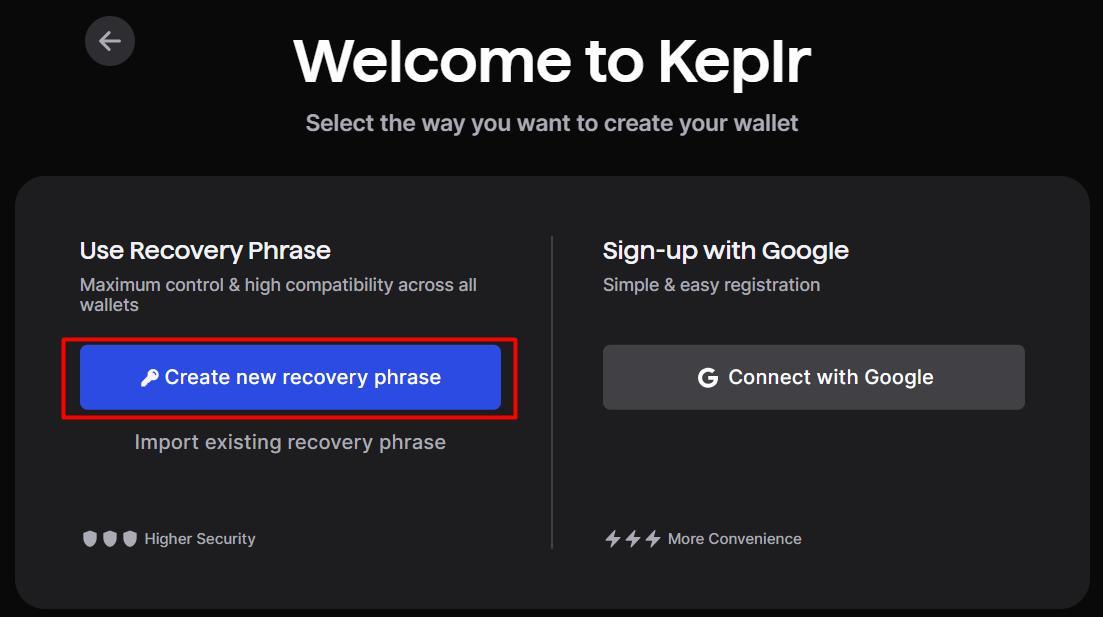
This will prompt you to choose a wallet creation method.
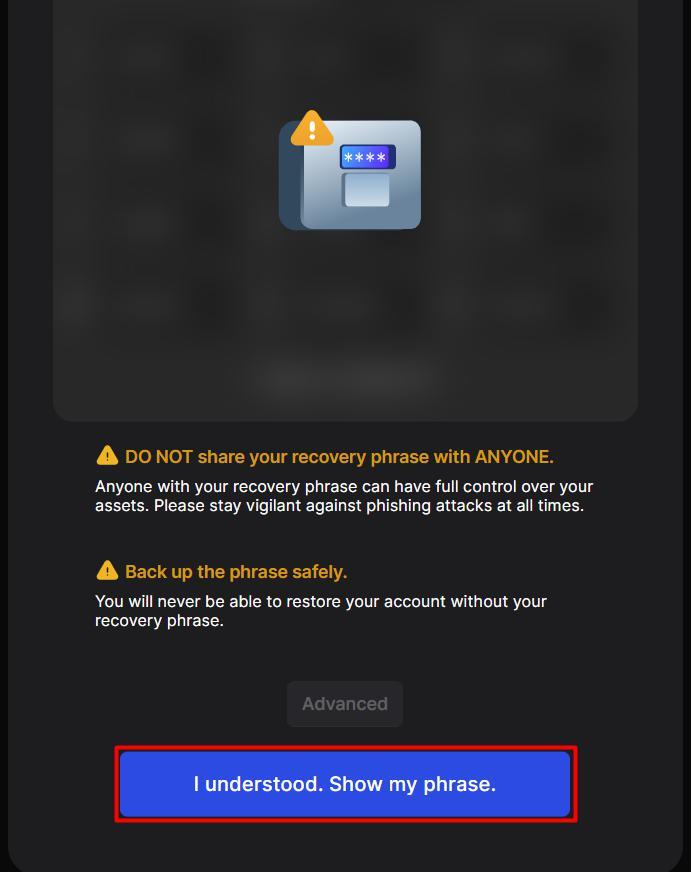
Read the security concerns about creating a new wallet using a recovery phrase carefully, and click 'I understood. Show my phrase.' Store that phrase in a secure place where only you can access it.
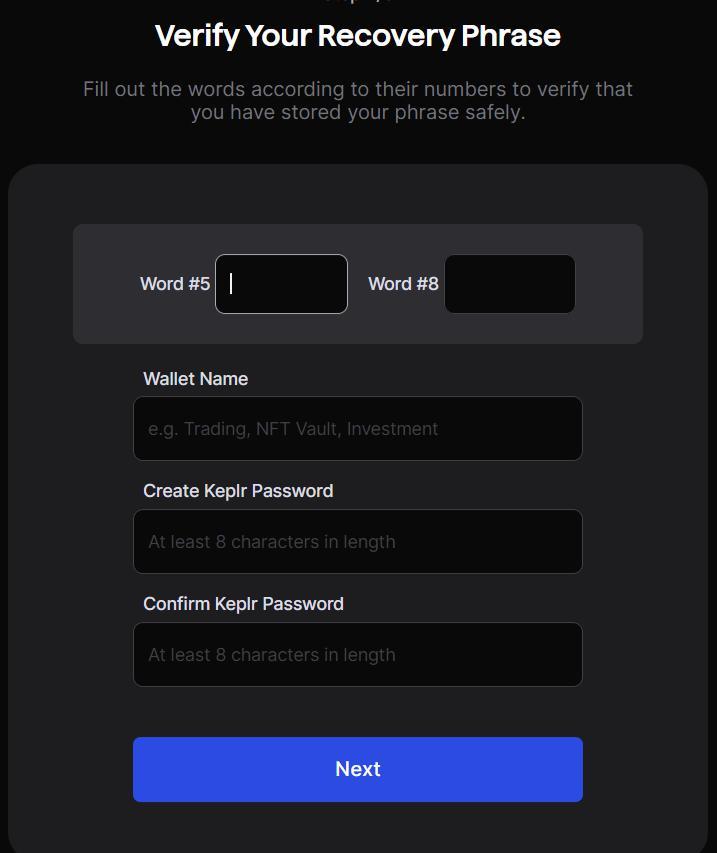
Now enter the words requested from your recovery phrase, add a name and a password to your wallet, then click Next.
Select the default networks and the setup will be completed.
## Adding funds to your wallet
### Using a faucet
_Note that this step applies to the testnet only._
Kima has available faucets for both its native token ($KIMA) and the USDK stablecoin. To delegate on the testnet, you need to have $KIMA to execute the transaction and send the delegated amount.
For further reference, please visit the [Kima Faucets](../try-kima-with-the-demo-app/kima-faucets) documentation.)